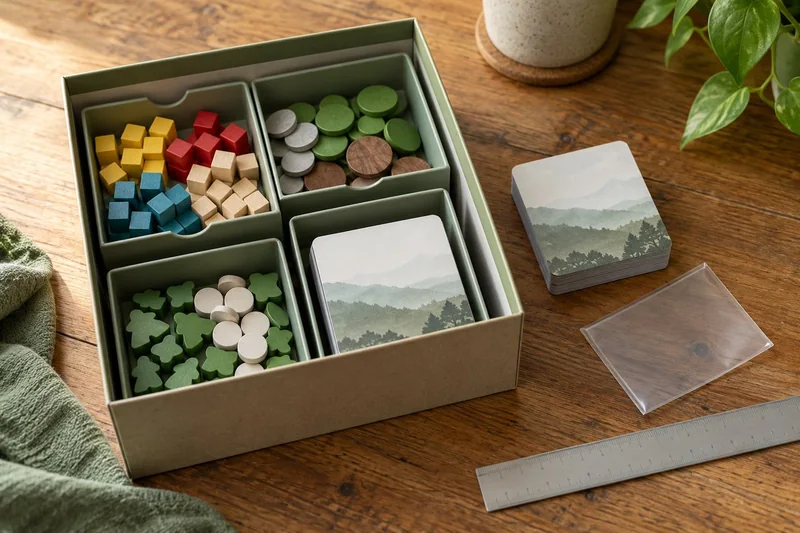
Split a large organiser at a functional boundary, such as separate player kits or independent resource trays, before cutting a model arbitrarily in half. I would prefer modules that remain useful on their own. A joint that crosses the card well can create a snag and another tolerance problem.
On this page
Our recommendation
I would choose independent functional modules unless the assembled tray genuinely needs to be carried as one piece. Avoid a long, fragile joint merely to reproduce the appearance of the original model.
Choose a boundary that makes sense at the table
Mark which components are retrieved together. A player kit or a distinct deck often makes a natural module. Leave shared supplies in a position that still works when the modules are separated. If a design must be cut, inspect the licence and editable-source availability before investing in modifications.
Budget the added walls or joint geometry. Two modules do not necessarily occupy the same width as one continuous tray. Check the printer’s usable build area with the intended brim or support, rather than using the advertised bed size as the printable part size.
Test the joint before a long run
Print a small section containing the connection and the most demanding corner. Check that assembly is possible without stressing the part and that the joined surfaces do not scrape cards. Prusa’s fit guidance emphasises that tolerances depend on the geometry, material, orientation and machine; there is no single clearance that guarantees every connection.
For a storage-only tray, a simple independent module may be better than a complicated snap joint. If the main box contains the modules securely, joining them permanently can add work without improving the game. Keep retrieval and repairability in the decision.
A functional split
Instead of splitting a 300 mm token tray through its central floor, divide it into two 145 mm serving trays with separately budgeted walls and clearance. Put the two resources most often used by opposite sides of the table in different modules. Confirm the combined packed width from the printed samples before producing the remaining trays.
Before you act
- Include brim and support in the build-area check.
- Budget the extra walls or joint.
- Test a critical connection before printing the whole set.
Use the Fit workbook to apply the guide to your own setup.
Keep exploring
- Budget printed wall thickness before dividing a game box into trays
- Check a 3D-printed board game insert before printing the full set
Sources and research notes
Research checked on 21 October 2026. Product specifications are manufacturer statements; examples and buying judgements are our analysis. No hands-on product test is implied.
Build on what you just learned
Your next useful step.
Choose trays around the way you actually play.

Token Silo or Token Silo XL? Choose the tray layout before the bigger box
I would choose the original Token Silo for a modest shared supply of small tokens, and the XL when long components or several card…
Read the guide →Ark Nova and Marine Worlds: when FS-ARNO is a sensible organizer choice
For standard components and sleeves within the maker’s stated specification, Folded Space FS-ARNO is a reasonable shortlist choice for Ark Nova plus…
Read the guide →