
Every additional tray wall consumes usable space twice when two separate trays sit beside each other. I would budget real printed walls and retrieval gaps before choosing compartment counts. A layout made only from component footprints often promises capacity that cannot exist once the walls are added.
On this page
Our recommendation
I favour fewer, well-chosen removable trays over many tiny compartments when the box is tight. The most useful organiser is the one that preserves access as well as capacity.
Count interfaces, not only outer edges
Sketch the box interior and mark every boundary. A shared divider inside one tray uses one wall; two independent trays use two walls plus whatever gap is needed to remove them. Removable trays are convenient, but that convenience has a dimensional cost.
Use the actual slicer preview to see how thin walls are generated. Prusa’s modelling guidance notes that printable geometry and fit depend on orientation, calibration, material and other factors. A wall drawn in CAD is not automatically reproduced as the exact same physical thickness on every printer.
Reserve access before filling the last millimetre
Leave room to lift a tray without bending the box side. Finger cut-outs can save space, but they still need to be reachable in the final packing order. Check whether a neighbouring board or tray blocks the cut-out when the box is full.
Make one representative pair of adjoining trays or a small cross-section. Fit them inside a cardboard outline with their intended contents. If the sample requires squeezing, revise the partitioning now. Increasing infill or changing filament does not recover missing geometric clearance.
A simple width budget
For a hypothetical 280 mm internal width, two trays each with 2 mm outer walls consume 8 mm in walls across the axis, before any gap. If their useful wells need 130 mm each, the combined total is 268 mm plus clearance. Add a third tray and repeat the arithmetic; do not divide 280 by three and call that the usable well width.
Before you act
- Count both walls at every removable-tray interface.
- Inspect the sliced wall paths.
- Include a practical lifting method in the layout.
Use the Fit workbook to apply the guide to your own setup.
Keep exploring
- Plan a removable foamcore insert with real wall thickness
- Choose component bags and trays by the usable space
Sources and research notes
Research checked on 21 October 2026. Product specifications are manufacturer statements; examples and buying judgements are our analysis. No hands-on product test is implied.
Build on what you just learned
Your next useful step.
Choose trays around the way you actually play.
Token Silo or Token Silo XL? Choose the tray layout before the bigger box
I would choose the original Token Silo for a modest shared supply of small tokens, and the XL when long components or several card…
Read the guide →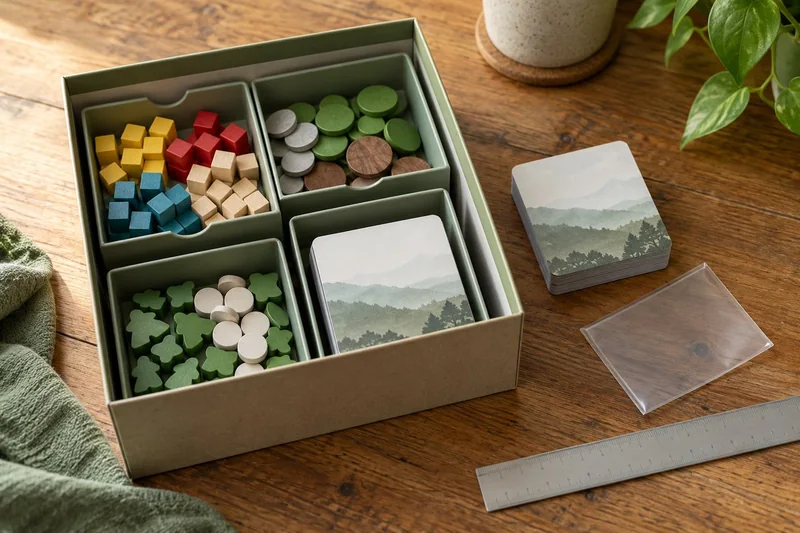
Ark Nova and Marine Worlds: when FS-ARNO is a sensible organizer choice
For standard components and sleeves within the maker’s stated specification, Folded Space FS-ARNO is a reasonable shortlist choice for Ark Nova plus…
Read the guide →